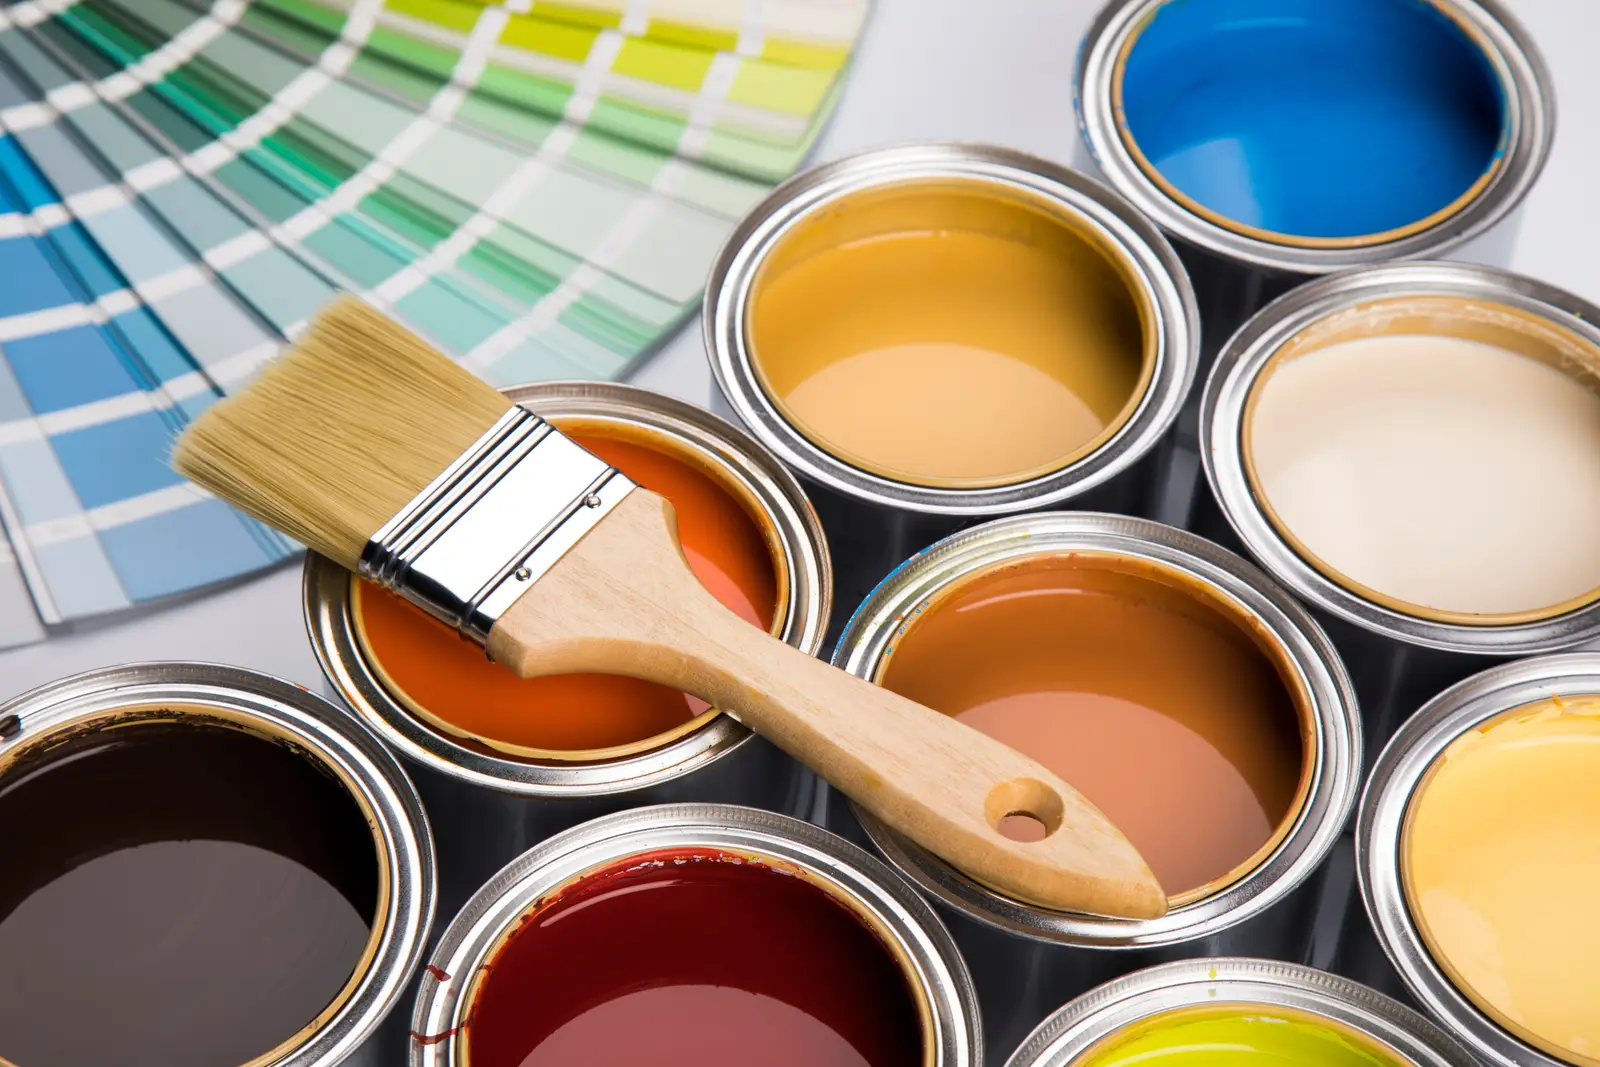
Painting is much more than choosing a wall color; it’s an art that changes the ambiance within a room. To tell the difference between a professional touch and a DIY touch knowledge, preparation, and skill are all necessary. Here are several painting techniques and tips to go along with them to help guide you in achieving that perfect finish.
Preparation: The Foundation of a Flawless Finish
- Clean the Surface: Before you consider holding a paintbrush, the surface to be painted will need to be cleaned. Dirt, dust, and grease can cause paint to adhere unevenly and create a patchy finish. Add a mild detergent to water for general cleaning and scrub the walls. TSP, or trisodium phosphate, works well against tougher grime. Do remember to let the surface dry before you move on.
- Repair Imperfections: Check the walls for any cracks, holes, or dents, then fill them with a suitable spackle or filler. Allow these patched areas to dry, and then sand to a smooth finish. Wipe away any accumulated dust with a damp piece of cloth.
- Prime the Surface: Don’t skip priming the surface, especially if you are covering a dark color or a porous surface. The primer supports the paint’s. adhesive nature, gives a great and even surface, and can increase paint durability. Use a primer appropriate for the type of paint and the surface you are working on.
Choosing the Right Tools
- Brushes and Rollers: The quality of the finish can make a big difference with the tools you are using. Good quality synthetic brushes will give good results on detailed work and edges. For larger areas, the roller with the proper nap length is crucial. As a rule of thumb, for smooth surfaces, use short nap—1/4″ to 3/8″—and for rough or textured surfaces, use longer nap—3/4″ to 1″.
- Painter’s Tape: Also critical to your project is painters tape for both clean lines and protection of areas you do not intend to paint. Apply the tape slowly and press it down firmly, as it helps to avoid paint bleeds underneath.
- Drop Cloths and Protective Gear: Cover your floors and furniture with drop cloths. Opt for canvas drop cloths over the plastic versions for no other reason than they are less slippery and paint spills can be more easily absorbed on their surface. Wear your protective gear, too—gloves and safety goggles.
Professional Painting Techniques
- Cutting In: This entails painting the edges and corners of walls with a brush before bringing in a roller. Tape off a good angled brush and carefully paint along edges of ceilings, baseboard, and around the windows and doors. Doing so creates a clean line and prevents the roller from smudging adjacent surfaces. Be sure to load the roller with paint without overloading it; which could cause drips. Next, start rolling in a ‘W’ or ‘M’ pattern. Then, fill in with horizontal strokes. This will give you an even coverage and inlay roller marks.
- Feathering: Feathering is a light rolling over of the painted area, almost dry, to merge fresh paint into previously painted areas. This helps prevent lap marks.
- Layering and Drying: For optimal results, apply a number of thin coats, not one thick coat. Follow the manufacturer’s instructions for drying times between layers. This procedure creates a more lasting and attractive finish.
Tips for Special Finishes
- Textured Finishes: Add some dimension using a textured finish: Do some sponging, rag rolling, or stippling for added interest. Such techniques can add unique patterning to your walls and really give great life to space. Experiment with the tools and methods until you achieve what you want.
- Accent Walls: Accent walls add interest to any room by providing a color pop and creating a focal point. Take a risk on a color that is bold, but not jarring, against the rest of your room’s palette. Painter’s tape will give you clean edges, and you can add multiple patterns or stencils if desired.
- Metallic and Faux Finishes: Metallic paints and faux finishes can give a room regal flair and finesse. Most require some extra steps and products—a glazing medium, for instance, or specialty roller covers—but well worth the end result.
Final Touches and Cleanup Check Work and Touch Up
Now that the paint has dried, inspect your work for flaws and spots that could have been missed. Touch up these spots using a small brush for a flawless finish. Apply gentle force when pulling off painter’s tape to avoid peeling off any paint.
- Clean Your Tools: Clean brushes and rollers well after use. This will extend their lifetime. Do not deviate from the manufacturer’s suggestion for cleanup. Any leftovers should be stored in a cool, dry place with the lid tightly closed.
- Dispose of Responsibly: Discover and follow responsible ways to dispose of paint, solvents, and materials. Most communities have facilities for hazardous waste disposal. Do not let unwanted paint go down the drain or throw it away in your trash.
Hire a Contractor – Varian Construction
Based in Southwest Florida, Varian Construction has provided extensive commercial building and remodeling services for over 30 years. Furthermore, owner Bill Varian is accredited as a Certified Graduate Remodeler (CGR), Certified Aging in Place Specialist (CAPS), and a Certified Green Professional (CGP), ensuring that your residential and/or commercial space will be built with both quality and care.
Fully licensed in Florida, Varian Construction can complete your renovation projects within your desired budget and timeframe. Varian uses CoConstruct to help schedule timelines, track financials, and as a platform for communication for homeowners so you can be confident that your project is in good hands. Hire Varian Construction for your home renovations; call 239.514.0103 or visit VarianConstruction.com.

Recent Comments